Registrar
The Office of the Registrar administers course registration and all final examinations, maintains a system of blind grading, oversees the entry of all grades and is the official custodian of all student academic records. The office prepares certifications of character and fitness for state bar examinations and processes enrollment verifications, degree verifications and student deferments. In addition, it supports faculty, staff and administration with data for reports and planning, as well as provides student rankings, which are published annually in August.
Current Student Quick Links

Academic Calendar
Graduation, Records & Faculty Quick Links
Academic Records, Graduation Requirements & Bar Exam Information


Contact
Registrar
-
law-registrar@du.edu
-
303.871.6132
-
law.du.edu/registrar
-
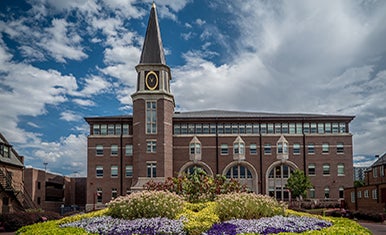
Ricketson Law Building
2255 E. Evans Avenue
Denver, CO 80208 -
Monday – Thursday: 8:30 a.m. – 5:00 p.m.
Friday: 8:30 a.m. – 4:30 p.m.
Zoom Office Hours available via drop in or by appt